Julie Butler - Independent Stampin' Up! Demonstrator

Sunday 13 July 2014

Watercolour fun

Long time no blog...  I have been seriously busy with my studies and barely crafting :(

I have just had a few weeks off uni and after I finally felt rested it was pretty much holiday over... I  start back tomorrow and finally got inspired to craft a couple days ago.

Watercolouring is really on trend at the moment and I was playing around with a few techniques.   I wanted to enter the current challenge over at Just Add Ink which is a colour challenge using these colours
JAI 222


You can check out the challenge here

Here is my entry.     I embossed the images using clear embossing powder and used blushing bride and bermuda bay inks to create the background piece.     I kept the rest of the card fairly simple to let the gorgeous image pop.     I must say it took a LOT of messing around to make the soft suede work in the design.... but I think I got there in the end ok.


Will try blog more soon.....

Julz


Friday 29 November 2013

Tri shutter project

Hi there

I have been busy working on some christmas projects lately, lots of cards, a secret santa swap with the gals from Stamp Nation as well as my stepmothers birthday present which I made a total of 30 cards over the past couple of days for her to use during the year.     As well I have been busy making this gorgeous project for a young friend who requested a special card to send overseas, as well as a gift box for the present.    I had a really good time making this,  I really enjoy making trishutter cards and this one has a few extras, including the back being fully decorated and a hidden spot for writing in.

Hope you enjoy this project.   


Julz

Card closed and in the box with belly band next to it

Front of the card

Back of the card

Close up of front, panel is embossed with sugar and spice scented embossing powder (retired) - smells gorgeous.  Lots of dazzling details as well, on the stockings and all the stars on the ornaments

Pull out panel for writing a message

Negative sponging, paper piercing - topped off with a glimmer paper ornament which has been covered in crystal effects

Completed project all ready to go

Wednesday 20 November 2013

She created a monster!

Ok first off let me say - ooopsie!    I didn't realise it had been so long since I had blogged.    No real excuse except life has been busy - don't know if anyone is still following, would love it if you do if you could leave me a comment and say hi.

Anyway,  I have been creating lots, just not blogging about it.   My xmas cards are well underway however today I needed to get on with making a card for my stepmother.   As the WORST stepdaughter in the world I pretty much always forget her birthday - so this year I am getting organised early (her birthday is in 5 days) and the card is ready.

I was inspired by a gorgeous CAS card that Catherine Pooler posted over at Stampnation which is a fabulous site full of amazing videos and inspiration that never ceases to amaze me.   I originally saw the video and within about ten minutes pulled together a xmas card.    That was yesterday.     Today however I pulled out a piece of DSP and cut into it, originally intending on making just one card.   However while I was trying to figure out which of the colours I would use I realised that actually - out of just one small strip of DSP, using the basic layout I could make 4 different cards.   

And so I did.

Here is the resulting set..... Im really in love with it.     Can you guess which one I will send to my stepmother??   Which is your favourite.

Would LOVE to hear from you


Julz


Supplies:

SU:  
Colours - Tangerine Tango, Crisp Cantaloupe, Pistachio Pudding, Island Indigo, Soft Suede, Very Vanilla
Stamps:  A word for you (retired) Sincere Salutations (retired)
Accessories:  various buttons and ribbon from my stash.       Elegant butterfly punch, doily

Saturday 5 October 2013

Double trouble

Hi there

Just a quick post here as Im getting geared up for the 24hr party on over at Stamp Nation in celebration of World Card making day which is today (5 October).   How cool is it that there is actually an entire day dedicated to making cards.

Anyway, I wanted to share this week's creation with you.   A friend came over and asked me to make a special card as she was attending a baby shower for twins - a boy and a girl.   Tricky to buy from the shops so a commission card it was.   I "think" I went a little overboard but it was such fun to make this double tri shutter.   Unfortunately I don't have a picture of it all closed up but suffice to say it looked fabulous - it needed a little box to pop it in as it was way to bulky for an envelope!!

Anyway - no time for a recipe - LOADS of product went into this card.  


 Close up of the details


Friday 27 September 2013

Lost mojo - found mojo

Hey there

So I have had a couple of mojo issues the past week or so.   I am putting it down to all the academic work I have been doing, creating took a back seat.   I was feeling a little agitated and realised it was because I hadn't done any crafting so set to making something for a friend.   I had REALLY big issues however, nothing I did would turn out right and inspiration was sadly lacking.    I managed to pull something together for my friend which I will post once she receives it.   However I had an extra focal point left over from that card which was originally a boo boo.

I had initially stamped the greeting on the die cut piece and used a two way glue pen and dazzling diamonds on the words but I felt it just looked messy.  So I restamped for my friends card and kept the original "boo boo".  Not wanting to throw out the image I just covered the entire thing with my versamark inkpad, threw on some iridescent ice and voila - boo boo fixed!   The entire piece sparkles so much.

I had a few other scraps floating around on my desk as well and because I was struggling so much I did what all smart crafters do - I headed for a sketch.   I had pinned this sketch from the girls over at Mojo Monday earlier in the week and once I realised I wanted to use it making the card took just minutes. 

Here is my finished card.   Quite simple and yet super effective.     Hope you enjoy.  

Julz


Supplies: 
Cardstock: Rich Razzleberry, Whisper White
Ink: Black Staz On
DSP : Polka Dot Parade, banners retired dsp
Stamp set: Happiest Birthday wishes (Hostess Retired)
Other : Delicate Doilies Sizzlit Die, Versamark, Iridescent Ice Embossing Powder, Circles framelits.


Wednesday 11 September 2013

12 Saturdays till Christmas!

Yup - Its true.    And in the past few days it seems everyone has been putting up posts on my facebook reminding me of the fact!  It is quite scary actually - I have so much to do between now and then with finishing my degree so hopefully I can keep crafting enough to stave off any stresses.

Anyway the gals at Just Add Ink came up with another great colour challenge this week.  The colours were Silver, Bermuda Bay and Basic Black - you can check out the design team entries here.   I absolutely love the striking effect of these colours together.

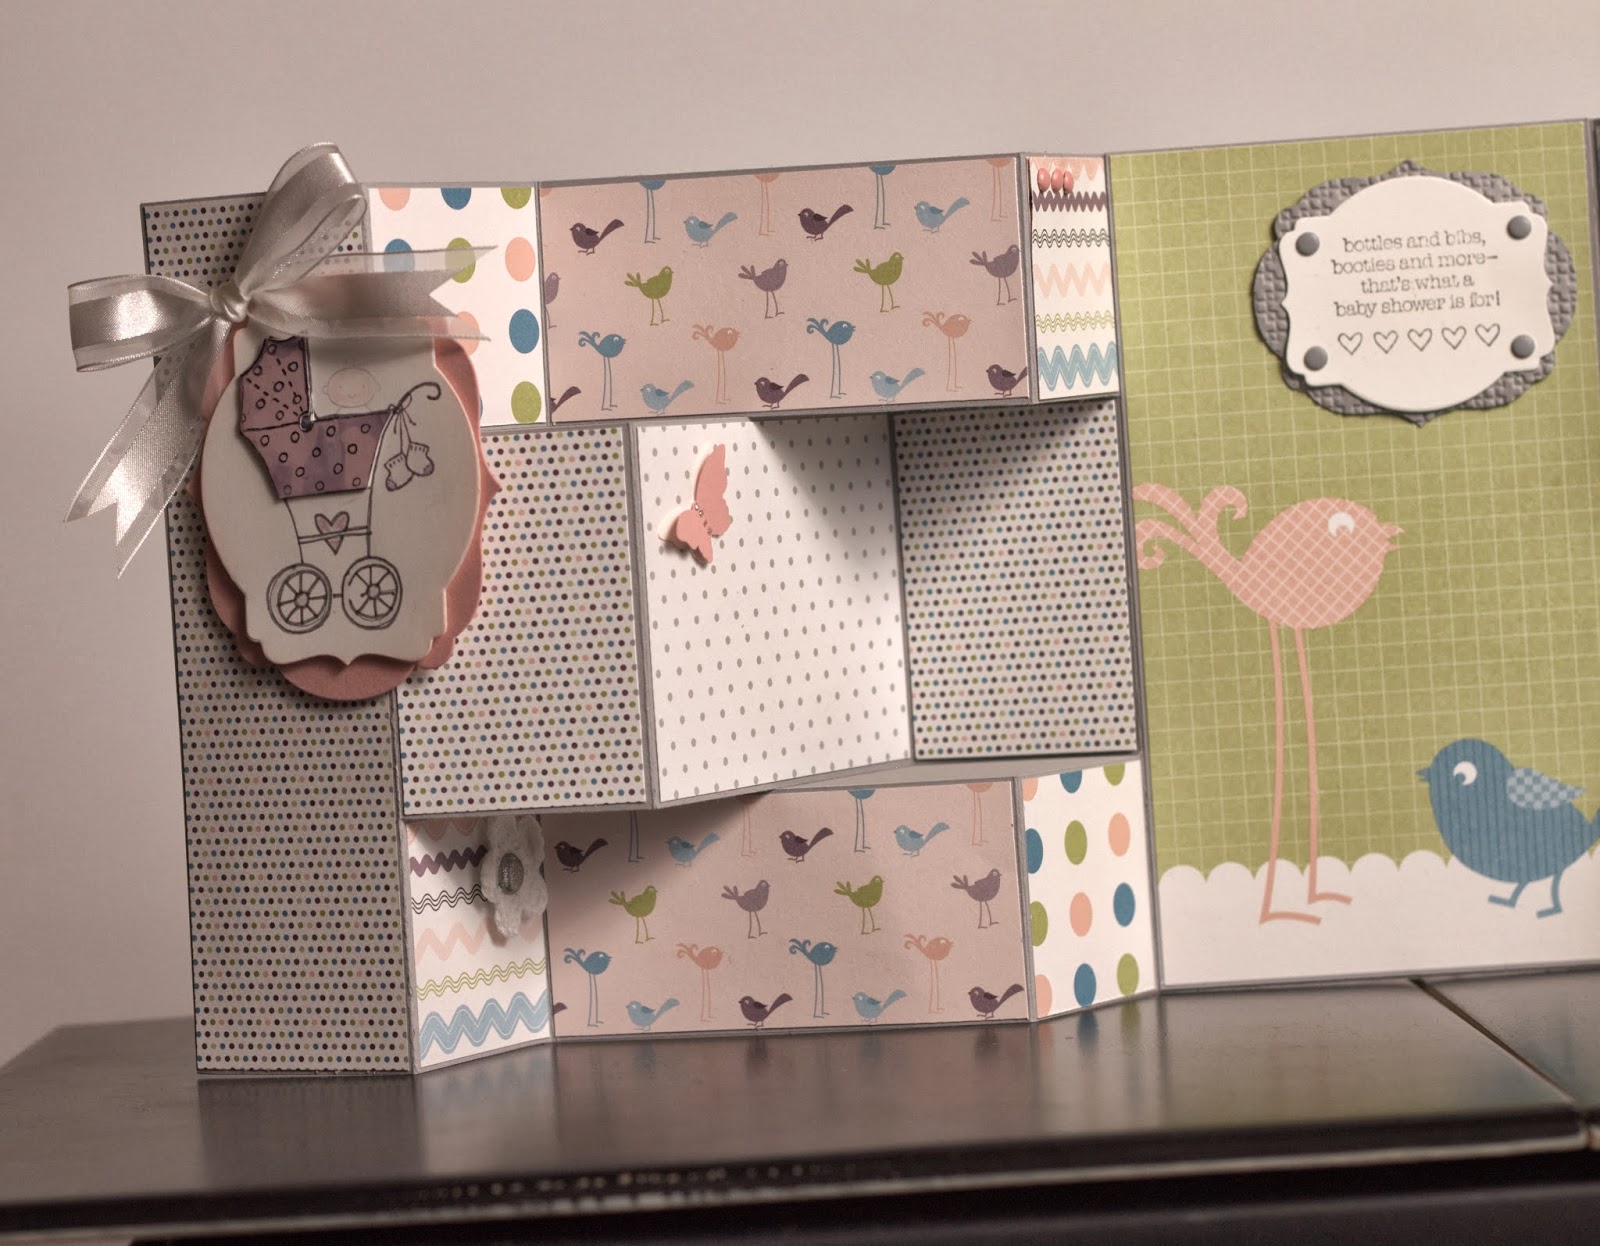
As soon as I saw the challenge I had a vague concept in my mind.    As you know I have been playing around with different card designs.    This card originally started in my mind as a side step card, but evolved into a centre step card.   I really love how it has turned out.   My very favourite detail was the top layer of the Festive Flurry stamp set and matching framelit dies snowflake I made - which I stamped in the Bermuda Bay, used a versamark pen to highlight just the outside of the snowflake and then embossed using clear embossing powder and the superfine silver glitter.       

The snowflake is popped up on dimensionals with each layer.   Unfortunately I just couldn't get it photographed properly to show the depth without showing just how sparkly it is so you will just have to use your imagination.

Anyway - enjoy.    As usual I love to receive your comments.


Julz


Cardstock:  Whisper White, Bermuda Bay, Brushed Silver
Stamp sets:  Festive Flurry, Joy to the World
Ink: Bermuda Bay, Basic Black
Embellishments: Basic Black Taffeta Ribbon, Silver Stampin Glitter, DSP Colour Stacks Neutrals, Silver Glimmer Paper


Sunday 8 September 2013

Oh baby

I have been trying to step out of my card comfort zone lately and been experimenting with some of the more "challenging" techniques like colouring as well as different card designs.   I have made a few tri shutter cards which I will blog about another day but I really wanted to show off this beauty.

It is a side step card.   I had a tutorial printed out ages ago with the measurements so am unable to credit the right person.  It was an imperial one however and required me to cut my card stock fairly oddly so I will keep an eye out for some good metric measurements.

I had some panels leftover from a techniques class I am teaching today that makes some gorgeous background panels using straws, reinkers and glossy cardstock (plus a hefty dose of OMG out of breath).   You can see them peeking out on the steps of the card.   I wanted to show my ladies an alternative way of using their created pieces instead of just stamping straight on them.  Does the pram look watercoloured??    Sure does but guess what.   It is actually paper pieced using one of the many pieces I had laying around my desk after a multitude of trial runs to find my favourite colour combos.    I stamped the Pram in Staz On and then carefully cut just inside the lines what would be the fabric.   Added a tiny amount of colouring with my blender pen to the rest of the image and I think I created quite a cute little baby card.   

Now - who is next to have a boy because this beauty will NEED to find a loving home....

Hope you love todays card.


Julz